
Mastering Food Photography: Tips for Stunning Shots
Ready your forks and cameras, because we’re diving fork-first into the captivating world of food photography. Taking a great photo of your meal isn’t just a simple point and click. It’s an art form, a science, and sometimes a challenge against shaky hands and a hungry stomach. But don’t worry! Whether you’re a food blogger aiming for the perfect shot or just someone who loves sharing avocado toast snaps, here’s how to make your food photos truly mouthwatering and eye-catching.
Why Food Photography Is a Superpower That Makes Us Hungry


Think about it — what’s your first reaction when you spot that drool-worthy Instagram post of a triple-stacked burger? You crave it instantly. Effective food photography doesn’t merely show a dish; it tells a story of crispy edges, melted cheese, and fresh herbs. It turns a simple salad into a visual feast, transforming “meh” into “OMG, I need that now!” So when you wonder why food photographers obsess over lighting and angles, now you know: it’s pure magic that starts with your camera.
1. Camera Angles: The Key to Mouthwatering Shots
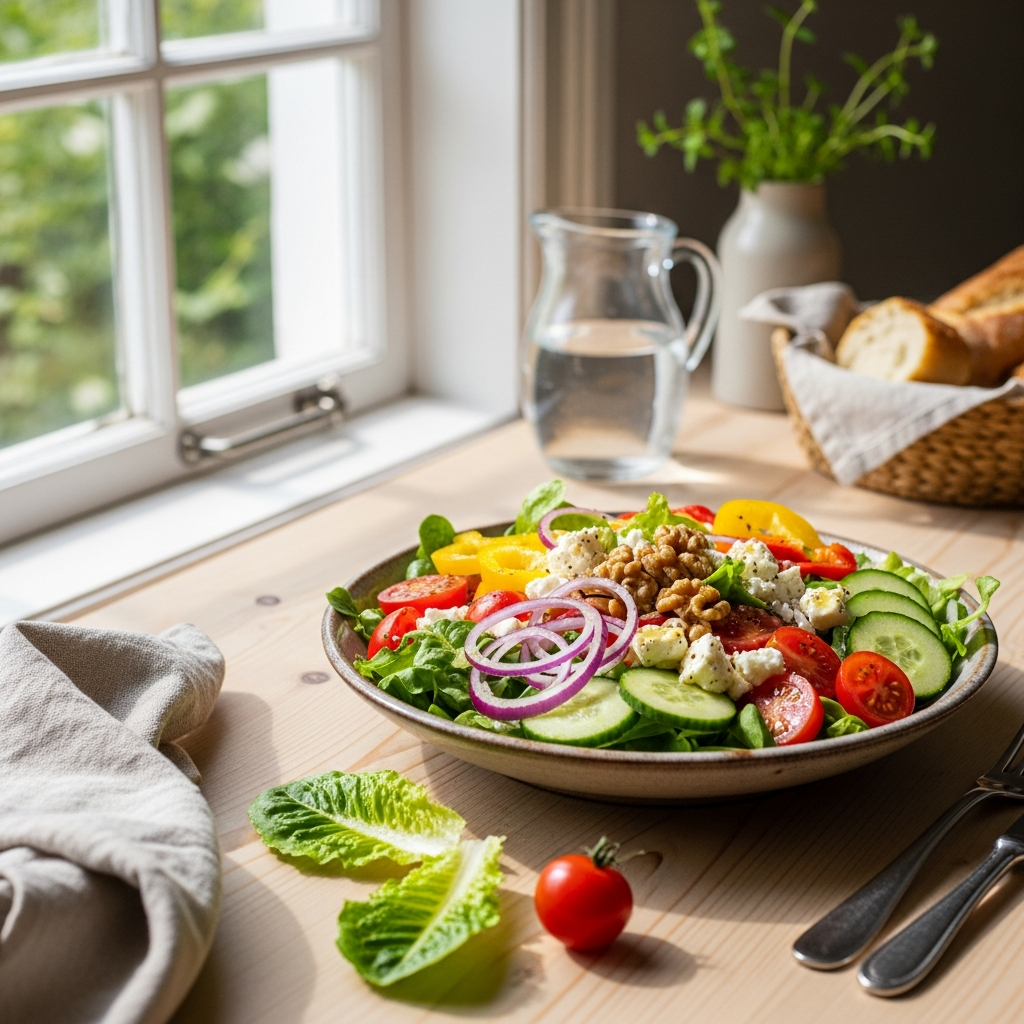
- 45 Degrees: This angle mimics the view of sitting down at a meal. It captures texture and depth perfectly, making it ideal for most dishes. It’s the Goldilocks angle — just right.
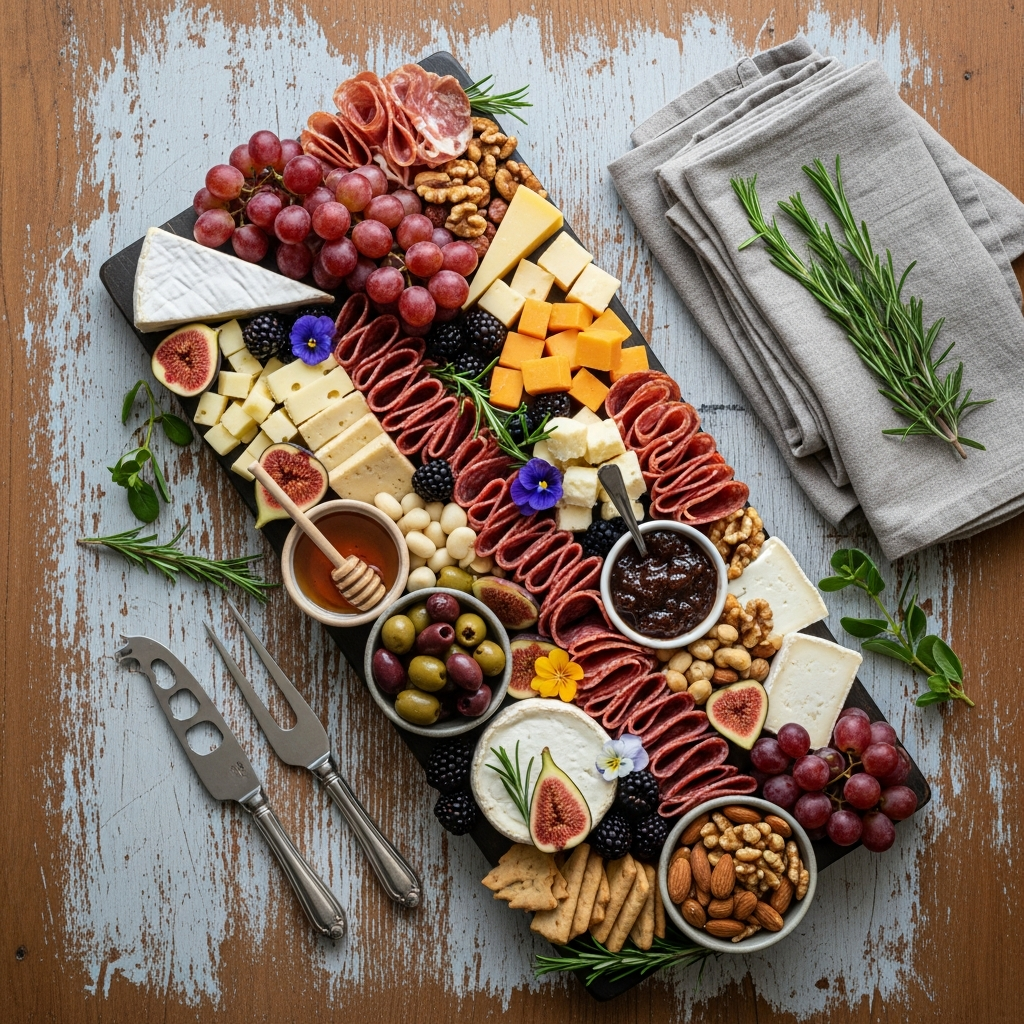
- Overhead (Flat Lay): Best for plates filled with many ingredients, like salads or charcuterie boards. It invites viewers to feast their eyes on everything at once.
- Straight-On: Perfect for tall stacks and layers, such as towering burgers.
Pro tip: Adjust your aperture according to the angle to make your food pop. Aperture isn’t just photographer jargon — it’s your secret weapon.
2. Lighting: Illuminate Your Food Beautifully
- Shoot near a window with soft, diffused light — avoid harsh direct sun to prevent sharp shadows.
- Side or backlighting adds depth and dimension, like a culinary film director’s touch.
- If shooting indoors at night, use reflectors or softboxes instead of flash to avoid unflattering highlights.
Picture your dish bathed in gentle daylight with soft shadows for the perfect presentation.
3. Composition: Arrange Your Food Like a Pro
- Layer elements with foreground (e.g., a salt shaker), middle (the dish), and background (like a rustic napkin) to create depth.
- Use leading lines to guide the viewer’s eye straight to your delicious centerpiece.
- Add height and drama by stacking food, folding napkins, or introducing props.
- Remember the rule of thirds — off-center compositions catch the eye.
Think of staging your photo like setting the scene for the food Oscars.
4. Styling and Preparation: Make Every Bite Camera-Ready
- Opt for simple, neutral props to let the food shine.
- Keep your produce fresh — slightly undercooked veggies maintain vibrant texture.
- Use tweezers for precise placement; small details pay off big.
- Embrace a little mess — a crumb or sauce drip adds authenticity.
Your food deserves a mini photo shoot, even if it tests your patience.
5. Gear & Settings: Essential Tools Without Overcomplicating
- Choose a camera with manual controls (DSLR or mirrorless) that fits your budget.
- Use a macro or zoom lens to capture sharp details.
- A tripod helps prevent blur and boosts professionalism.
Quick settings guide:
- Keep ISO low (100–400) to avoid grain.
- Control depth with aperture adjustments.
- Set white balance for accurate, appetizing colors.
6. Post-Processing: The Digital Finishing Touch
- Increase brightness and contrast to energize your image.
- Enhance saturation moderately to keep colors natural.
- Sharpen lightly for crispness.
- Crop thoughtfully to focus on the star without distractions.
Subtle edits keep things real — unless you want to go bold!
7. Practice Makes Perfect (and Maybe Laughs Along the Way)
Nobody becomes a food photography expert overnight. Shoot often, experiment with dishes, angles, and lighting. Learn from the pros, take notes, and embrace mistakes—the little mishaps are part of the journey.
Next time you reach for your camera, remember: creativity and effort transform your food photos. Above all, have fun. Because if your pictures don’t make you smile or drool, what’s the point?
Still reading? You’re officially a food photography enthusiast now. Go make your camera hungry! 📸🍔